HOW-TO: Shooting Glass
- PhotoED Magazine
- Aug 6, 2017
- 2 min read
Updated: Nov 9, 2019

Trying to light glass using the same techniques employed when photographing opaque objects will give you unsatisfactory results. The glassware will reflect everything in the room/studio and show flare from the light source. The solution lies in the problem, that is, that glass is transparent.
Rather than bouncing light off of the glass, try to have the light go through the glass. This can be done by illuminating the glass from behind or below. The light must be diffuse to eliminate glare. I recommend using a translucent material such as white Plexiglas as the stand for the glass.
Light tables using Plexiglas are commercially available or you can build your own.
(We’ve got an easy how-to for a simple DIY light table in our winter 2014 issue –
Get the full instructions HERE.)
What you will need:
• A camera
• A tripod
• Glassware
• Several sheets of seamless paper (e.g., black or white construction paper)
• A light table with translucent Plexiglas
• A light source
Before you start, clean the glassware well and turn off the room lights to prevent unwanted reflections and glare. Here are some techniques to try.

Light from below
Place the glassware on the Plexiglas. Try some shots and vary the distance of the light source from the base. Experiment with light modifiers such as cut-outs. Since the light source is from below, you can experiment with different backgrounds and take advantage of another
characteristic of glass: the ability to bend and distort light rays.
Light from behind
As in the lighting from below process, experiment with the distance of the light source and the use of light modifiers. You could also try to use a strip of black construction paper as a base
for the glassware. Leave enough of the Plexiglas clear on either side of the paper to light the object.
If the object is placed on the Plexiglas, two strips of black paper can be used on either side to define edges and contribute to the overall composition. If you are lighting from behind, the base does not have to be translucent. This opens up possibilities for other materials — mirrors and other reflective materials work well. A visit to your local home building supply store might turn up some interesting possibilities.
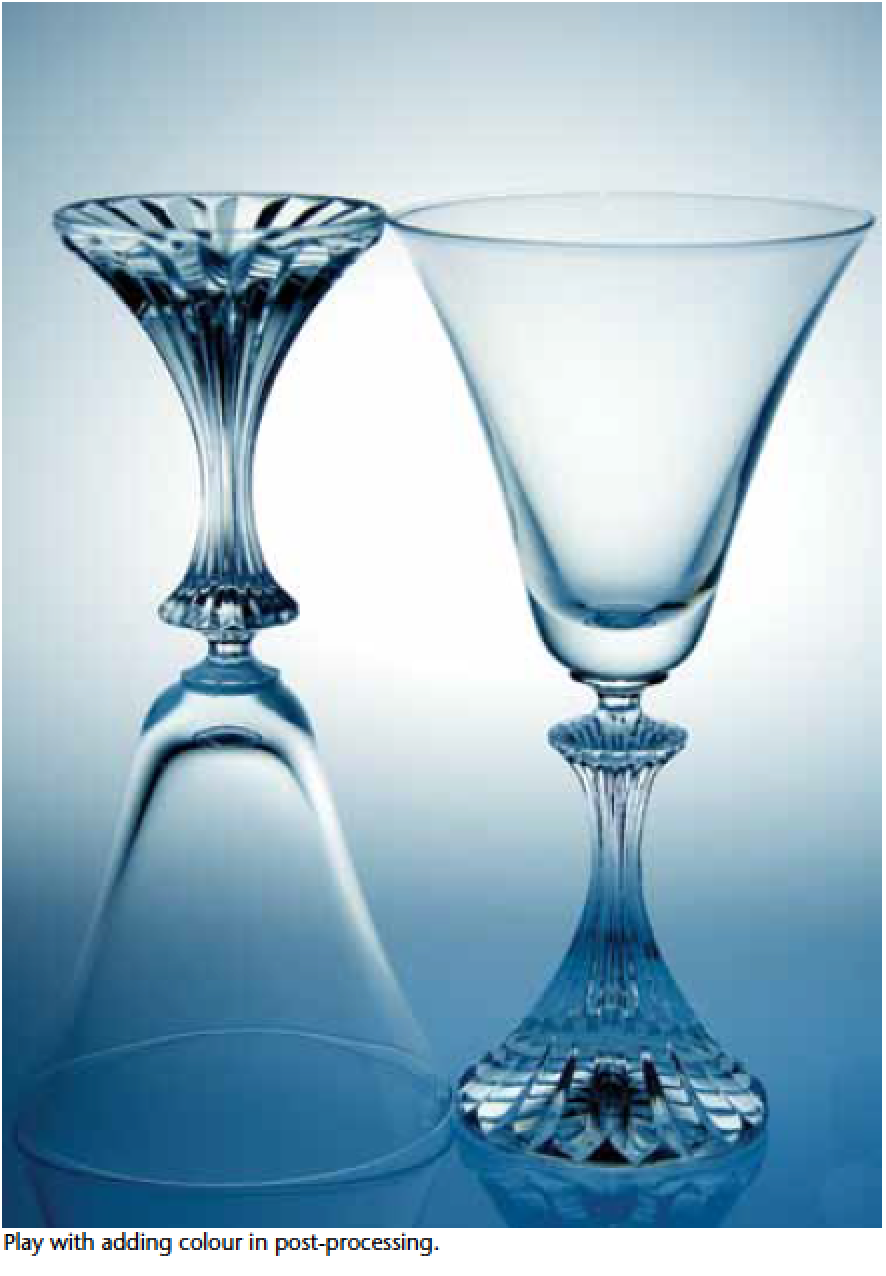
These techniques are only a fraction of what is possible. Staging and creative composition also add to the challenge. Lightroom and Photoshop provide infinite post-processing techniques.
Consider converting your images to black and white or adding a colour interpretation. Shooting glassware can reward you with new insights into how light.